Accessible Menu
Purpose
Instructions
In this exercise, we will be creating an accessible dropdown menu.
HTML
-
Open your Goats 'R Us website from last week.
-
Build the top navigation links on
index.html.- Inside the
<header>, add a<nav>element. - Give the
<nav>opening tag a ARIA attribute ofaria-label="Main Menu"
- Inside the
-
Create navigation items
-
Create an unordered list with three list items inside the
<nav>element.Tip: If using Visual Studio Code, try using the Emmet shortcut
ul>li*3 -
Add the
role="menubar"to the<ul>.The
role="menubar"is used when all choices/options are always visible on the screen. -
Add the
role="none"to each<li>.This removes the default role of
listitemfor each<li> -
Add the below links for Home, Our Breeds, and Order Projects inside the appropriate
<li>. - Add the
role="menuitem"in each anchor element.
<!-- Main Menu --> <nav aria-label="Main Menu"> <ul role="menubar"> <li role="none"><a href="index.html" role="menuitem">Home</a></li> <li role="none"><a href="breeds.html" role="menuitem">Our Breeds</a></li> <li role="none"><a href="products.html" role="menuitem">Order Products</a></li> </ul> </nav> -
-
Create submenu items
-
Add the ARIA attribute
aria-haspopup="true"to the Order Products<a>The
aria-haspopup="true"indicates the menu item has a submenu. -
Nest a second
<ul>within the Order Products<li> -
Add
aria-label="Product Sub-Menu"to the new<ul> -
Add attribute
role="menu"to the new<ul>.The
role="menu"is used when the user needs to invoke the menu items (the items are not visible by default). -
Add
role="none"to each<li> - Add the below links (not all pages exist, so I just placed a hashtag in place of a path).
- Add the
role="menuitem"in each anchor element.
<!-- Nested Sub Menu --> <ul aria-label="Product Sub-Menu" role="menu"> <li role="none"><a href="#" role="menuitem">Goat Milk Soap</a></li> <li role="none"><a href="order/orderCheese.html" role="menuitem">Cheese</a></li> <li role="none"><a href="#" role="menuitem">Milk</a></li> </ul> -
-
View results
-
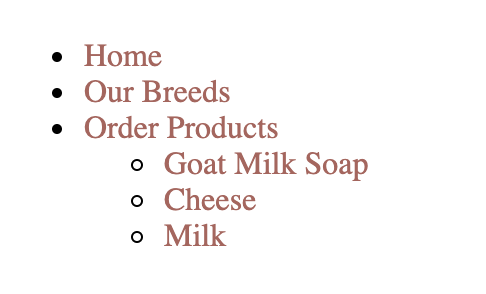
In your CSS document, comment out the
margin:0;andpadding:0;styles applied to the body. You should see the below structure in your browser. -
If you don't see the below structure, go back and fix your mistake before continuing.
-
Uncomment out the
margin:0;andpadding:0;.
-
CSS
-
Style the top navigation links with the below CSS
/************************* Main menu *************************/ nav { background-color: #e3e3e5; } ul { display: flex; /* Acts like a float */ list-style: none; justify-content: center; } li { background-color: #e3e3e5; position: relative; } li:hover { background-color: #A4665E; } li a { text-decoration: none; color: #000; display: block; /* need anchor element to be block so they take padding */ padding: 1em; } li a:hover { color: #fff; } -
View Results
The finished styles should look like the image below in your browser.

Adjust the color transition
So the color transition isn’t too jarring, add a slight transition to the <li> element.
li {
    background-color: #e3e3e5;
    position: relative;
    transition-duration: 0.5s;
}
Show and hide the Submenu
-
To access the submenu, we can use the DOM to target the nested
<ul>. The display: none property will hide this navigation. And we are using some positioning properties to place the submenu in the correct spot./************************* Sub menu *************************/ ul li ul { position: absolute; min-width: 10.3em; margin-top: 0; left: 0; display: none; } -
To show the submenu when the user hovers over the list item add the following styles. We are selecting the
<ul>and its descendants that are descendants of a ul li on hover. The second selector is selecting the<ul>element itself.ul li:hover ul, ul li ul:hover { display: block; } -
Finally, give the bottom right and left corners of our sub-navigation rounded corners.
li ul li:last-child { border-bottom-left-radius: .5em; border-bottom-right-radius: .5em; } -
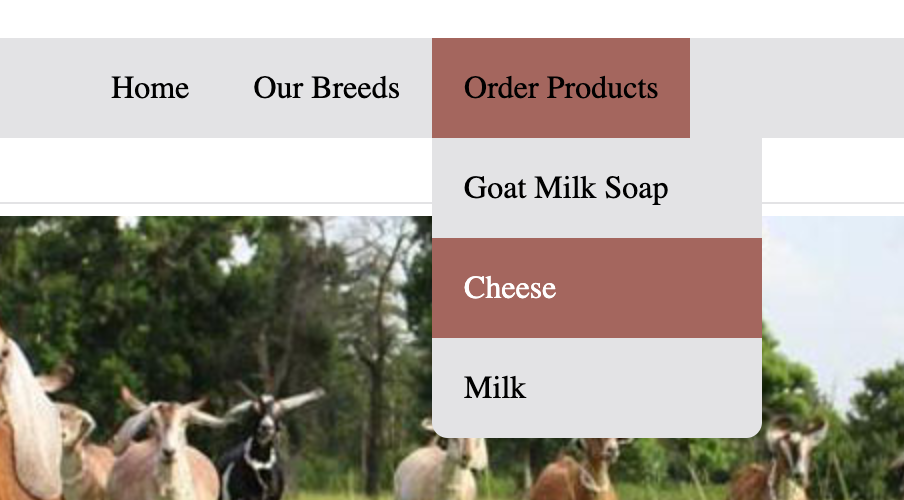
View Results
The finished menu should look like the image below.
Fixing the tab
We have a good-looking menu so far, but the tab key does not work in our submenu. Fortunately, we have a great new CSS pseudo selector, focus:within, that easily fixes this. We want to apply this to all the <li> elements within the submenu.
ul li:hover ul,
ul li ul:hover,  /* <------ ADD a comma */
ul li:focus-within ul { /* <------ ADD this line */
    display: block;
}
Challenge (extra 3 points)
-
Navigate the menu with the tab key on your keyboard. Notice that the hover effects do not work (changing background and text color). How would you fix this?
-
Update the navigation to include current page information for the screen reader and a visual indicator for sighted users. Only required for the Home, Our Breeds, and Our Products links.
Adding a Skip Link
-
Create the link
- Add an
idto the<main>element. Give it a value like "mainContent". - Directly under the
<body>element, create a link that goes to the<main>element by using theidyou just created. - Give the new link a
class, something likeskipLink.
- Add an
-
Move the link off the viewport
We don’t want to use a
display: noneas then the screen reader will ignore the link. Instead of using theclassselector, move the link off the page..skipLink { position: absolute; left: -1000px; } -
Move link when in
focusoractivestateWhen the link is in the focus or active state, the element moves back to its original position.
.skipLink:focus,
.skipLink:active {
    left: 0;
}
Add Navigation to All Pages
-
Add the navigation & skip link to each page
- Copy the HTML navigation and paste it into the other pages.
- You will need to modify the link paths on the
orderCheese.htmlpage - Copy the skip navigation HTML to each page
Submission
-
Open the Week 13 folder in Blackboard
-
Click on the Accessible Menu submission link.
-
Compress (zip) the entire Goats 'R Us website and submit it to the Blackboard submission link.
-
Click Submit.
Grading Criteria
Points Possible: 4
-
Correct and valid HTML (1 pt.)
-
Correct and valid CSS (1 pt.)
-
Keyboard Accessible (1 pt.)
-
Skip Link (1 pt.)
-
Challenge (+3 pts.)